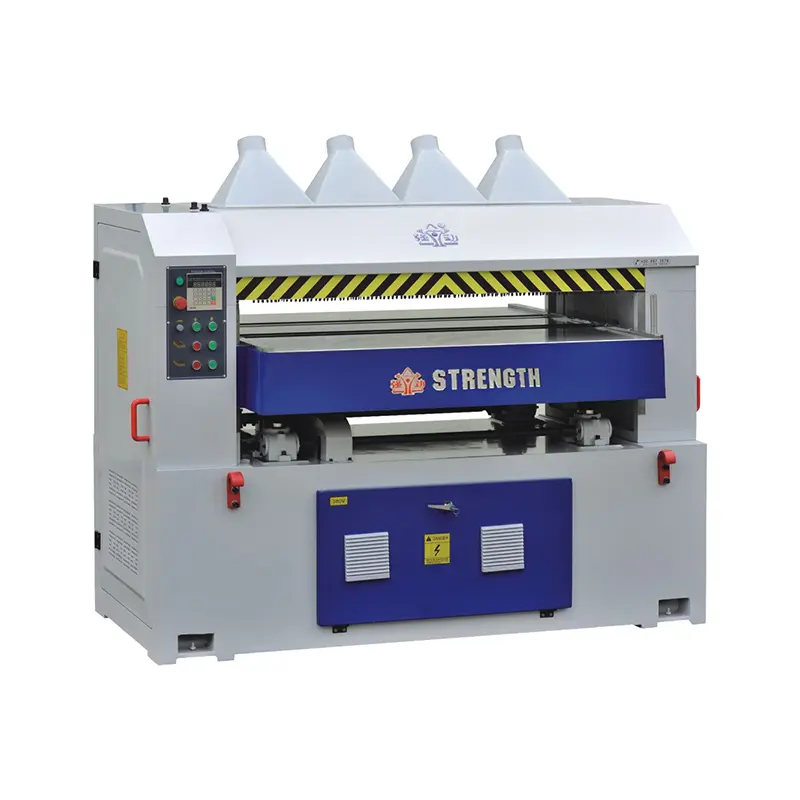
How to check the wear of planer tools?
The wear of planer tools directly affects the processing quality and efficiency, so it is very important to check the wear status of tools regularly. Here are some effective methods and tips to help you accurately evaluate the wear of planer tools.
1. Visual inspection
Visual inspection is the most basic and most commonly used method. By observing the appearance of the tool with the naked eye, you can quickly find obvious wear, cracks or gaps.
Operation steps:
Under good light conditions, carefully observe the key parts of the tool such as the cutting edge, main cutting edge and back.
Pay attention to check the wear, cracks and deformation.
Advantages and disadvantages:
Advantages: simple and fast, easy to implement.
Disadvantages: only obvious surface damage can be found, and internal defects cannot be detected.
2. Microscope inspection
Microscope inspection can detect tiny cracks and wear that cannot be detected by the naked eye, and is suitable for more detailed inspection.
Operation steps:
Use a special tool microscope to place the tool under the microscope for observation.
Adjust the magnification and carefully check each part of the tool.
Advantages and disadvantages:
Advantages: can detect tiny defects and improve detection accuracy.
Disadvantages: Requires professional equipment and operating skills, and the detection speed is slow.
3. Cutting force monitoring
By monitoring the changes in cutting force, the wear of the tool can be indirectly judged. When the tool is worn, the cutting force will change.
Operation steps:
During the processing, monitor the changes in cutting force in real time.
Record cutting force data and analyze its relationship with tool wear.
Advantages and disadvantages:
Advantages: Real-time monitoring without downtime.
Disadvantages: Requires professional equipment and data analysis is more complicated.
4. Thermovoltage measurement method
Use the thermocouple principle to monitor the thermovoltage generated when the tool contacts the workpiece to determine the degree of tool wear.
Operation steps:
Install the thermocouple at the contact point between the tool and the workpiece.
Record the changes in thermovoltage and analyze its relationship with tool wear.
Advantages and disadvantages:
Advantages: Cheap price and easy to use.
Disadvantages: High requirements for sensor materials, suitable for interval detection.
5. Acoustic detection
By monitoring the sound changes of the tool during processing, the wear and abnormality of the tool can be quickly detected.
Operation steps:
During the processing, pay attention to the sound when the tool contacts the workpiece.
Use acoustic sensors to record the sound and analyze abnormal conditions.
Advantages and disadvantages:
Advantages: No need to stop the machine, and can be detected in real time.
Disadvantages: Depends on the operator’s auditory experience and is difficult to quantify.
6. Online measurement technology
Modern technologies such as laser measurement and computer vision can realize online detection of tool wear, providing higher accuracy and efficiency.
Operation steps:
Scan the tool using a laser measuring instrument or visual inspection system.
Analyze the inspection data to determine the wear status of the tool.
Advantages and disadvantages:
Advantages: Efficient, non-contact detection, suitable for automated production.
Disadvantages: High equipment cost and high technical requirements.
Conclusion
Regularly checking the wear of the planer tool is an important part of ensuring the processing quality. By combining multiple detection methods, the status of the tool can be comprehensively evaluated, and maintenance and replacement can be carried out in time to improve production efficiency and product quality. Choosing a detection method suitable for your production environment and equipment will help extend the service life of the tool and reduce production costs.
Post time: Dec-18-2024

