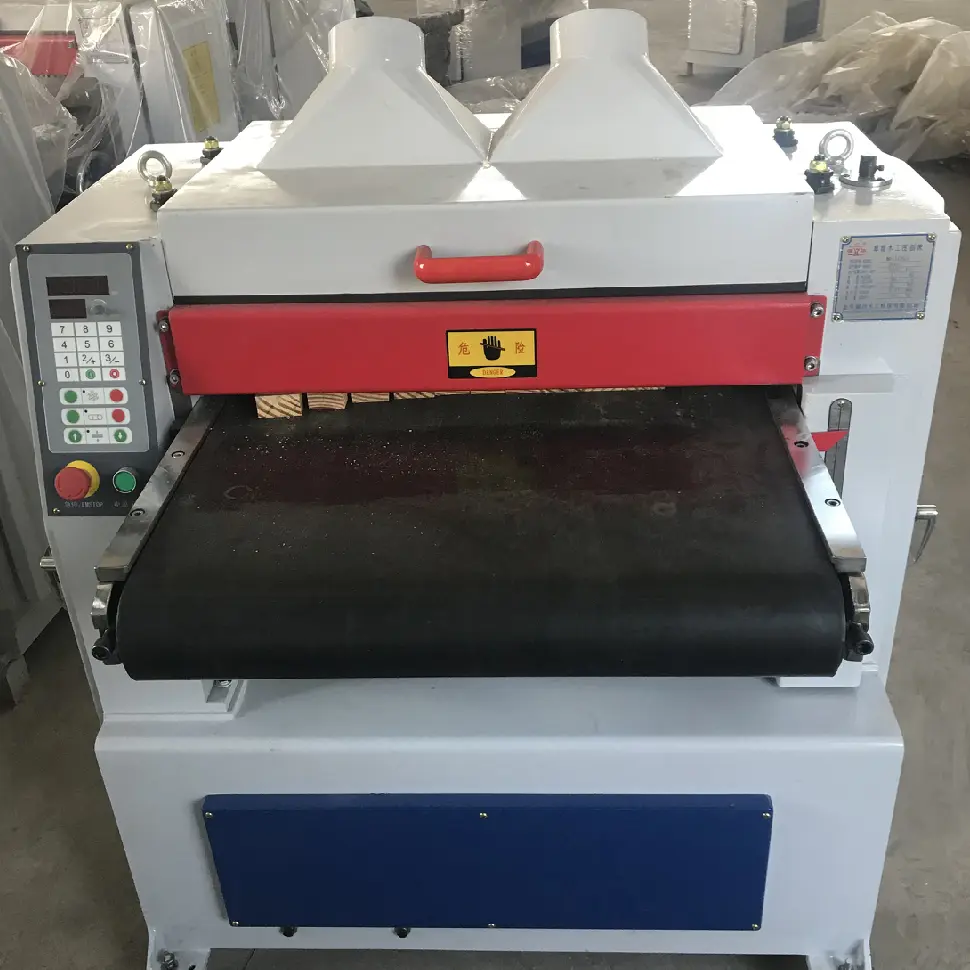
Carpentry is a craft that requires attention to detail and precision. Whether you are a seasoned professional or an amateur, achieving a smooth, flawless finish on your wood surface is crucial to creating a high-quality piece. One of the key tools for achieving this level of precision is the planer. In this article, we’ll explore the art of fine-tuning a wood surface with a planer, as well as the techniques and techniques for achieving the perfect finish.
A planer is a woodworking tool used to create a smooth, even surface on wood by chipping away at thin layers. It is an essential tool for fine-tuning and shaping wood and comes in many types, including hand planes, power planes and thickness planes. No matter which type of planer you use, the process of fine-tuning the surface of your wood is the same and requires attention to detail and a steady hand.
Before using a planer, it is important to prepare the wood surface, making sure it is flat and free of any imperfections. This can be accomplished by using a jointer to flatten one side of the wood and create a reference surface for the planer. Once the wood is ready, a planer can be used to remove any remaining imperfections and create a smooth, even surface.
When using a planer, it’s important to make small, incremental adjustments to get the results you want. This process is called fine-tuning and requires patience and precision. Set up the planer first to remove a small amount of material, then gradually increase the depth of cut until you achieve the desired surface. This progressive approach allows for better control and helps prevent any mistakes that could result in an uneven surface.
In addition to making small adjustments, it’s also important to pay attention to the direction of the wood grain. Planing against the grain can result in tears and a rough surface, so planing against the grain is necessary to obtain a smooth surface. By following the natural direction of wood fibers, a planer can effectively remove material without causing any damage to the surface.
Another important aspect of fine-tuning a wood surface with a planer is keeping the blade sharp. Dull blades can cause tears and a rough surface, so it’s important to sharpen and maintain your blades regularly to ensure optimal performance. This can be accomplished by using a whetstone or blade sharpening tool to keep the blade in top condition.
In addition to the technical aspects of using a planer, there are artistic considerations when fine-tuning a wood surface. Achieving a smooth, flawless finish requires understanding the natural properties of wood and how to use them to get the best out of the material. This may involve making small adjustments to the depth of cut and angle of the planer to achieve the desired result.
Additionally, the choice of wood and the intended use of the finished product can also influence the fine-tuning process. Different types of wood have unique characteristics, such as hardness and grain pattern, that affect how you use a planer to achieve a perfect finish. Additionally, the intended use of the wood, whether for furniture, cabinets or decorative pieces, will affect the level of precision and smoothness required.
In summary, the art of precisely fine-tuning a wood surface with a planer requires a combination of technical skill and artistic understanding. By making small, incremental adjustments, working in the natural direction of the wood grain, and keeping the blade sharp, woodworkers can achieve a smooth, flawless finish on their work. Whether you’re a professional woodworker or a hobbyist, mastering the art of using a planer to fine-tune the surface of wood is essential to creating high-quality and visually stunning work.
Post time: Jul-10-2024

