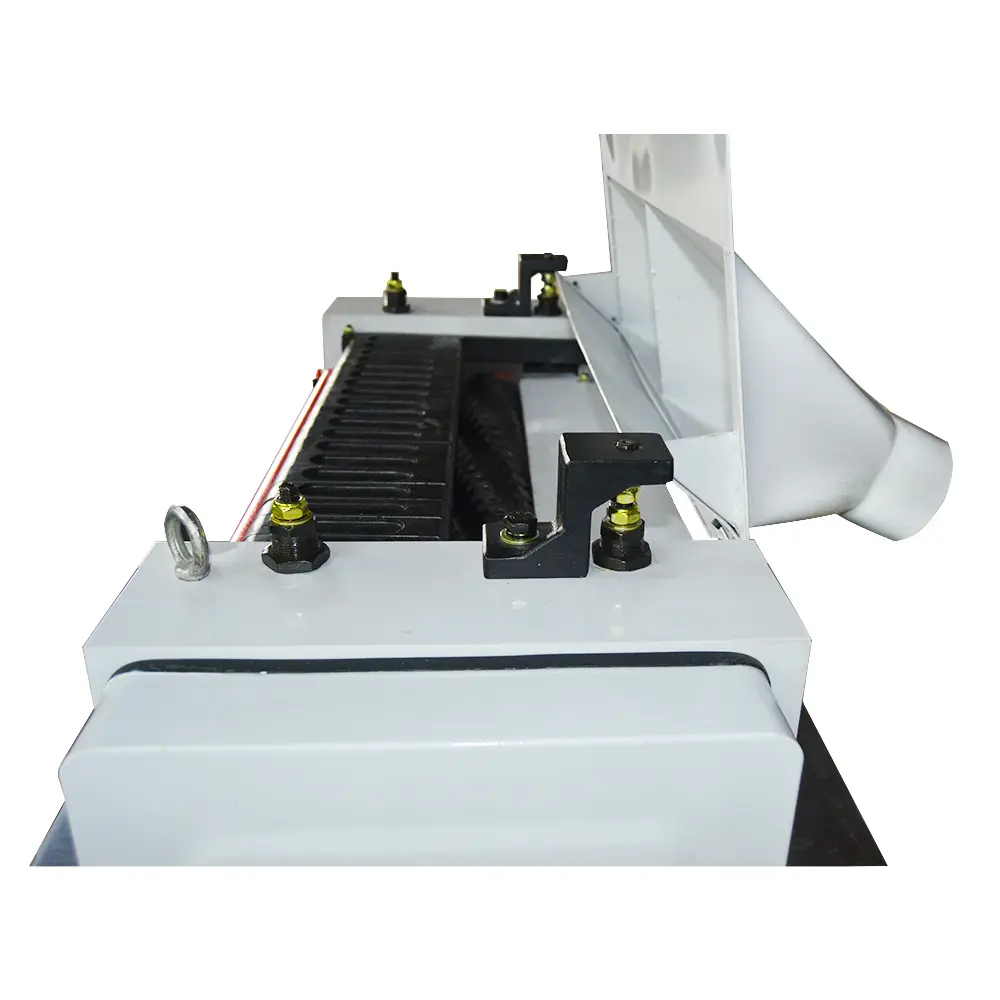
A wood plane is an essential tool for any woodworking hobbyist or professional. It is used to create a smooth, flat surface on wooden boards, making it ideal for a variety of woodworking projects. Whether you’re a beginner or an experienced woodworker, knowing how to use a wood plane effectively is crucial to getting professional results. In this ultimate guide, we’ll explore every aspect of using a wood planer to achieve a perfectly smooth surface.
Learn about wood planers
Before we delve into the process of using a wood planer, it’s important to understand the tool itself. A wood planer is a machine that has a rotating cutter head with multiple blades. The blade scrapes a thin layer of wood from the surface of the board, creating a smooth, even surface. There are different types of wood planes, including hand planes, bench planes, and thickness planes, each with a specific purpose based on the size and nature of the woodworking project.
Prepare wood and planer
Before using a wood planer, the wood and the planer itself must be prepared. First make sure the wood is clean and free of any debris or foreign objects that could damage the planer blade. Additionally, check the wood for nails, staples, or knots that could cause the planer to bounce or create an uneven surface. It is also important to check the planer for any damage or dull blades as this will affect the quality of the finish.
Set cutting depth
Once you have your wood and planer ready, the next step is to set the depth of cut on the planer. The depth of cut determines how much material will be removed from the surface of the wood with each pass. It is important to start with a shallow depth of cut and gradually increase the depth of cut until the desired smoothness is achieved. It’s better to do multiple shallow passes rather than remove too much material at once, as this can lead to tears and an uneven surface.
Send wood through planer
When transporting lumber through a planer, it is important to maintain a consistent and steady speed. Push the wood through the planer at an even speed, making sure it has full contact with the planer and feed rollers. This will help prevent sniping, a common problem where the planer cuts deeper at the beginning or end of the board. Also, always feed wood against the grain to minimize tearing and achieve a smoother surface.
Check for defects
It is important to inspect the surface of the wood for any imperfections after each pass through the planer. Look for areas that may have been missed or require additional planing to achieve a perfectly smooth surface. If there are any high spots or ridges, adjust the depth of cut and pass through the planer again until the surface is smooth and free of blemishes.
final touches
Once the wood has been planed to the desired smoothness, the final touches can be applied. This may include sanding the surface to remove any remaining marks or imperfections and achieve a silky smooth finish. Additionally, consider applying a coat of wood paint or sealer to enhance the natural beauty of the wood and protect it from moisture and wear.
safety rules
When using a wood planer, it is important to always put safety first. Always wear appropriate safety gear, including safety glasses and hearing protection, to protect yourself from wood chips and the noise produced by the planer. Also, be aware of the positioning of your hands and keep them out of the path of the blade to avoid accidents.
In summary, using a wood plane to achieve a perfectly smooth surface is an essential skill for any woodworker. You can achieve professional results on your woodworking projects by understanding the intricacies of a wood planer, preparing the wood and planer, setting the depth of cut, feeding the wood into the planer, checking for defects, and applying finishing touches. Remember to put safety first and take the time to ensure a perfect finish. With practice and patience, you can master the art of using a wood plane to create beautiful, smooth surfaces for your woodworking projects.
Post time: Jun-24-2024

