When it comes to woodworking, having the right tools is crucial for achieving a professional finish. One tool that is essential for creating smooth and straight edges on your workpieces is a jointer. In this guide, we will take a deep dive into what jointers are, how they work, and the various ways they can be used in woodworking projects.
What is a Jointer?
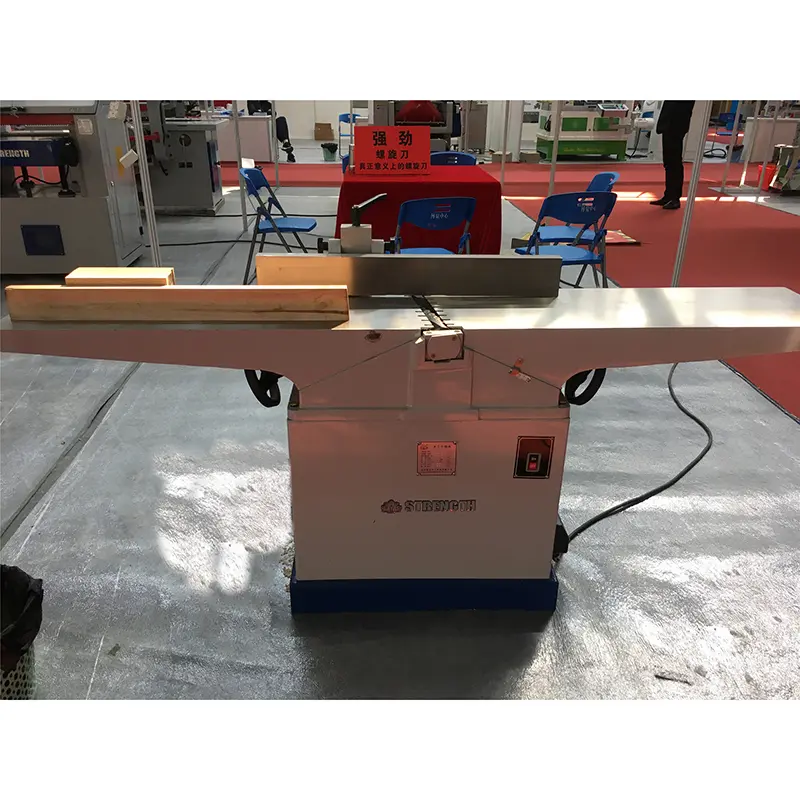
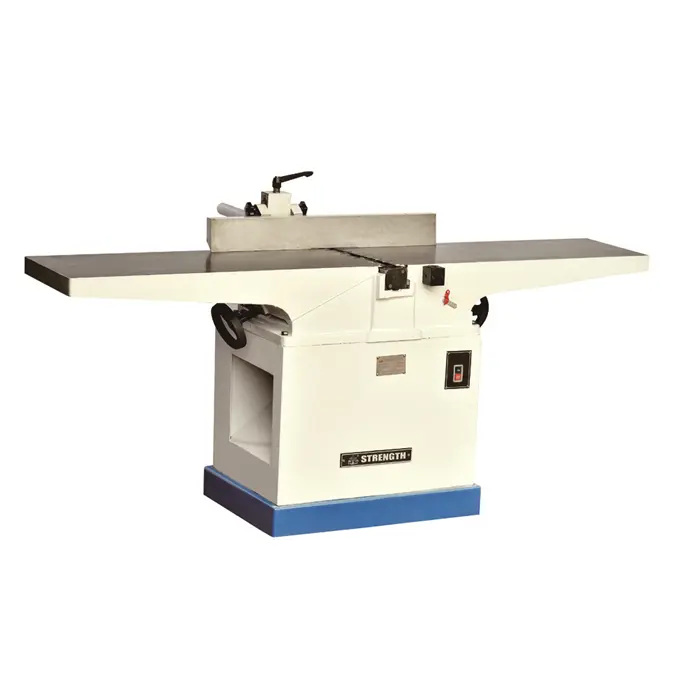
A jointer is a woodworking tool that is used to create flat surfaces and straight edges on boards and other workpieces. It consists of a flat surface called a table, a cutter head with rotating blades, and a fence that can be adjusted to control the angle of the cut. Jointers come in various sizes, from small benchtop models to large industrial machines, and they can be powered by either electricity or manual hand cranking.
How Does a Jointer Work?
The basic operation of a jointer involves passing a board over the cutter head, which removes a thin layer of material to create a flat surface. The fence can be adjusted to control the angle of the cut, allowing you to create straight edges and perfectly square corners. By passing the board through the jointer multiple times, you can gradually remove any imperfections and create a smooth, flat surface that is ready for further processing.
What Are Jointers Used For?
Now that we have a basic understanding of what jointers are and how they work, let’s take a look at the various ways they can be used in woodworking projects.
1. Creating Flat Surfaces
One of the primary uses of a jointer is to create flat surfaces on boards and workpieces. When working with rough lumber or reclaimed wood, the surfaces are often uneven and may have twists, bows, or cupping. By running the boards through the jointer, you can remove these imperfections and create a flat surface that is ready for further processing, such as planing or edge joining.
2. Straightening and Squaring Edges
In addition to creating flat surfaces, jointers are also used to straighten and square the edges of boards. This is important for creating tight and seamless joints when joining multiple pieces together, such as when making tabletops, cabinets, or doors. By running the edges of the boards through the jointer, you can ensure that they are perfectly straight and at a 90-degree angle to the surface, making them ready for edge gluing without any gaps or inconsistencies.
3. Smoothing Rough Surfaces
Another common use of jointers is to smooth rough surfaces on boards and workpieces. Whether you are working with rough lumber or have made cuts using a saw, the surfaces may have saw marks, tear-out, or other imperfections that need to be removed. By running the boards through the jointer, you can create a smooth and even surface that is ready for sanding and finishing, saving you time and effort in the long run.
4. Tapering and Beveling
In addition to creating flat surfaces and straight edges, jointers can also be used to taper or bevel the edges of boards. This can be useful for creating decorative profiles, chamfers, or other custom shapes on your workpieces. By adjusting the angle of the fence and carefully guiding the board through the jointer, you can achieve precise and consistent tapers and bevels that add a unique touch to your woodworking projects.
5. Jointing Wide Boards
One of the advantages of using a jointer is its ability to handle wide boards that may be too large for a planer or other tools. By running wide boards through the jointer, you can create a flat surface and straight edges that are essential for achieving a professional finish on larger projects, such as tabletops, countertops, or shelving. This versatility makes jointers an invaluable tool in any woodworking shop, regardless of the scale of the projects you are working on.
Tips for Using a Jointer
Now that we have explored the various ways jointers can be used in woodworking projects, let’s go over some tips for using a jointer effectively and safely.
1. Always wear safety goggles or a face shield to protect your eyes from flying chips and debris.
2. Use push blocks or push pads to guide the board through the jointer, keeping your hands a safe distance from the cutter head.
3. Start with the flattest face of the board on the jointer table and adjust the outfeed table to the desired cutting depth.
4. Keep the board firmly pressed against the jointer table and fence to ensure a consistent and accurate cut.
5. Make multiple passes with shallow cuts to gradually remove material and achieve the desired flatness and straightness.
6. Check the boards for squareness and consistency as you work, adjusting the fence and cutter head as needed to achieve the desired results.
7. Always disconnect the power source before making any adjustments or maintenance on the jointer.
Conclusion
Jointers are an essential tool for creating flat surfaces, straight edges, and smooth surfaces on boards and workpieces in woodworking projects. Whether you are working with rough lumber, need to straighten and square edges, or want to add custom profiles to your workpieces, a jointer can help you achieve professional results with precision and efficiency. By understanding how jointers work and following some basic tips for using them, you can take your woodworking skills to the next level and tackle a wide range of projects with confidence and success.
Post time: Jan-20-2024


